Root Domains and CNAME Flattening
Before I got to this step of the Cloud Resume Challenge, I did not fully understand how a website or a domain works. And I still don’t. Things like www being it’s own subdomain, how exactly CNAME records work, and the intricacies of SSL certs and HTTPS. But I really enjoyed this part of the project since I was able to get really hands on with Azure and could see the results in real time. I hit a variety of hurdles along the way (mostly with DNS propagation time and using HTTPS with a root domain), but it was an immense learning opportunity.
I really wanted my site to load when a user types the root domain techbrett.net . It was a fairly straightforward to get https://www.techbrett.net working and a really easy to get www.techbrett.net working. But the root domain proved to be quite the challenge in itself.
Buying a PositiveSSL cert for your domain
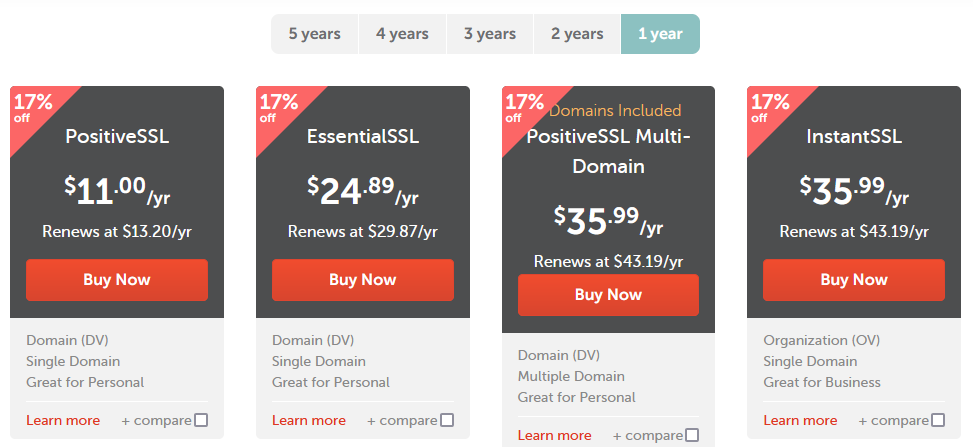
Before configuring HTTPS, we’ll need an SSL cert so that we can use the root domain. Note: if you’re fine with using https://www.mydomain.com then this step is not necessary. You can use Azure managed CDN for HTTPS for subdomains (including www). That service does not cover root domains – those are only supported when you BYOC (bring your own cert). Normally, buying an SSL cert from DigiCert will cost hundreds of dollars ($289 at time of writing). I dont’ know all the details of SSL certs, that’s out of the scope of this project. I’m not that concerned – I just wanted to be able to provide a potential employer with my root domain and they easily be able to access it. Namecheap offers PositiveSSL certs for $11/year, or less if you buy more than 1 year at a time.

This always proves to be a challenge when I renew due to both how NameCheap and Azure handle the cheap PositiveSSL certs and the different formats. For example, when NameCheap sends you the SSL cert it doesn’t include the Private Key. But if you have their hosting (which I foolishly bought when I acquired the techbrett.net domain – not fully understanding what I was doing) then you get cPanel, which makes generating CSR requests, Private Keys, and they even have an SSL Auto Installer.
But Azure on the other hand, makes this process much more difficult. In a nutshell, Azure requires a .pfx file when importing the cert into your Key Vault, and when I did CNAME validation (as I renewed my cert for 2025) I went to download the SSL certificate and it only contained a .crt and a .ca-bundle file. I had to extract the private key from the .crt file, save it as private.key, then use Chocolatey to install openssl and then use openssl to create the .pfx file.
Obviously if you’re doing this from Linux or have WSL installed and setup you don’t need Chcolatey (but you may need to install openssl if you’re in a Linux environment).
The real kicker is combining everything into a special .pfx file for Azure (I hate Microsoft so much as this point, everything they do is so out of pocket). But either way you need to ultimately run this command:
openssl pkcs12 -export -out domain.name.pfx -inkey domain.name.key -in domain.name.crtAnd if you have a root and intermediate certs then you have to include them too with multiple -in parameters:
openssl pkcs12 -export -out domain.name.pfx -inkey domain.name.key -in domain.name.crt -in intermediate.crt -in rootca.crtDespite thinking I had done everything correctly, for whatever reason I had to do this process twice, and import the final .pfx file into my Azure Key Vault a second time, purge both my Cloudflare cache and Azure CDN, and then the new cert began to show up.

Leave a Reply